June 23, 2012: Updated pics!

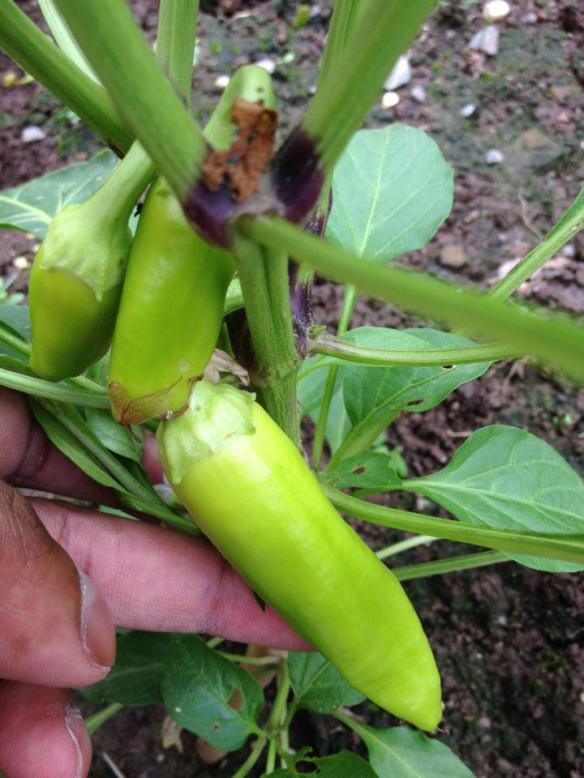
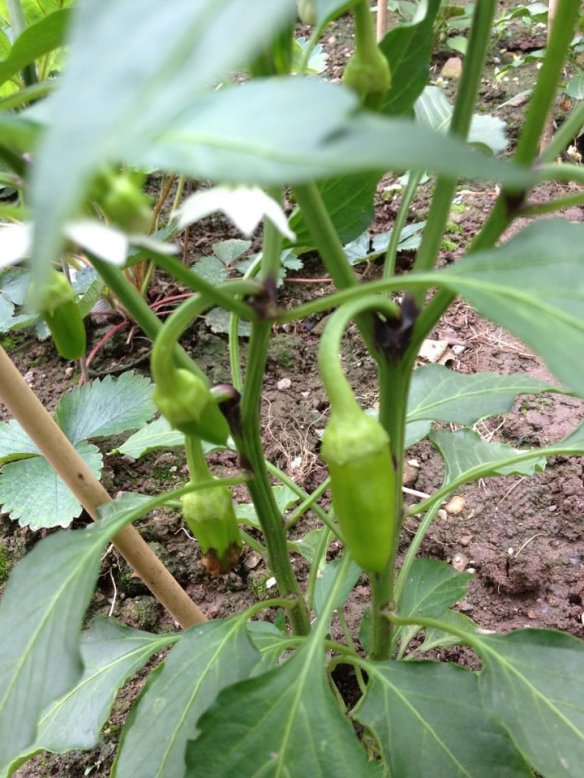
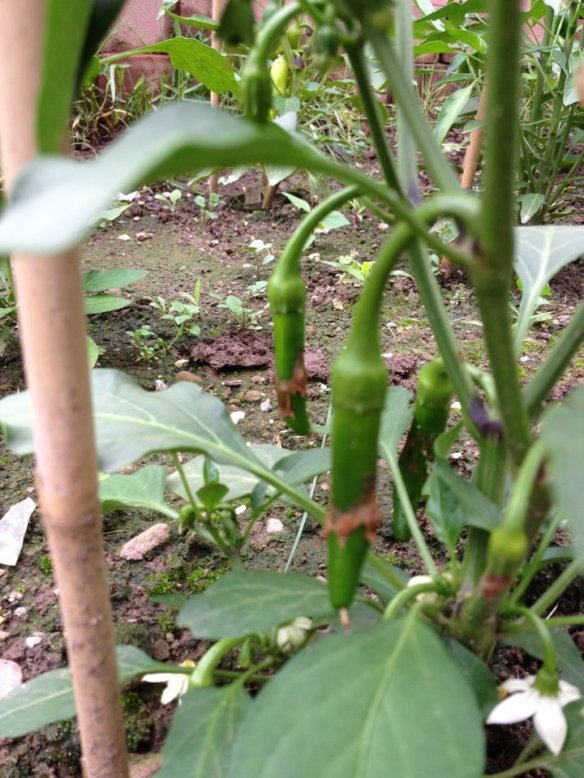
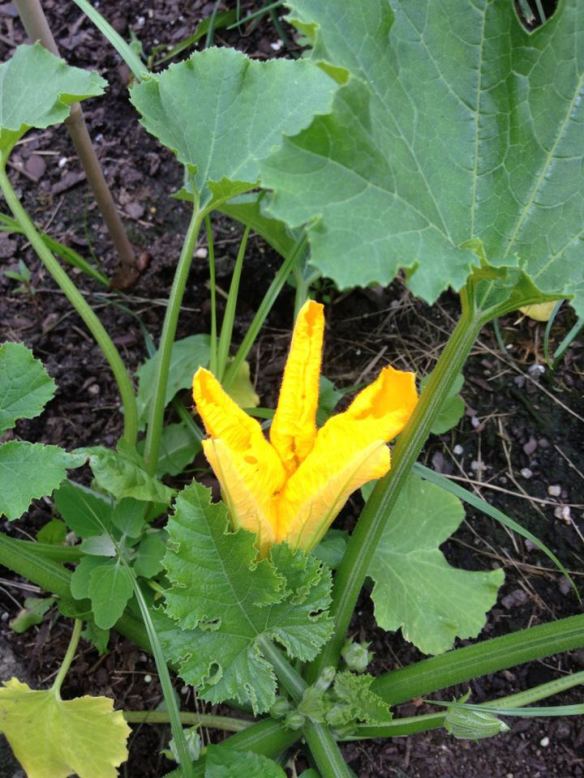
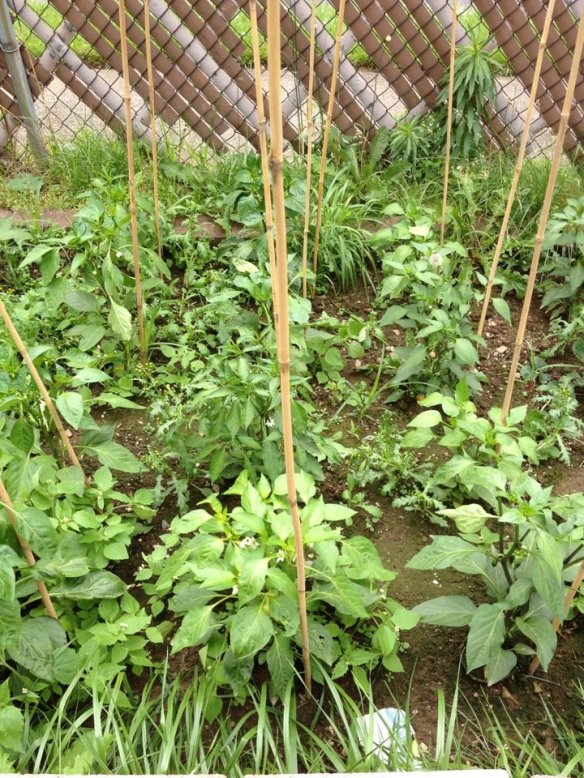
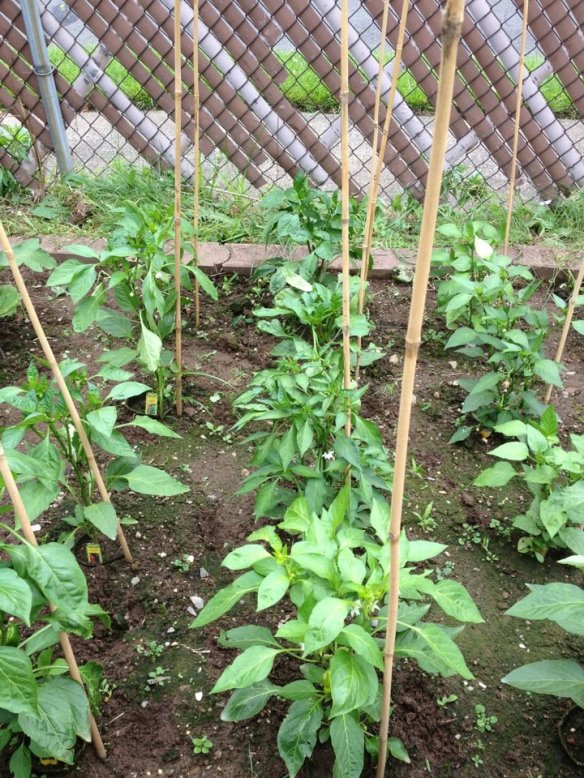
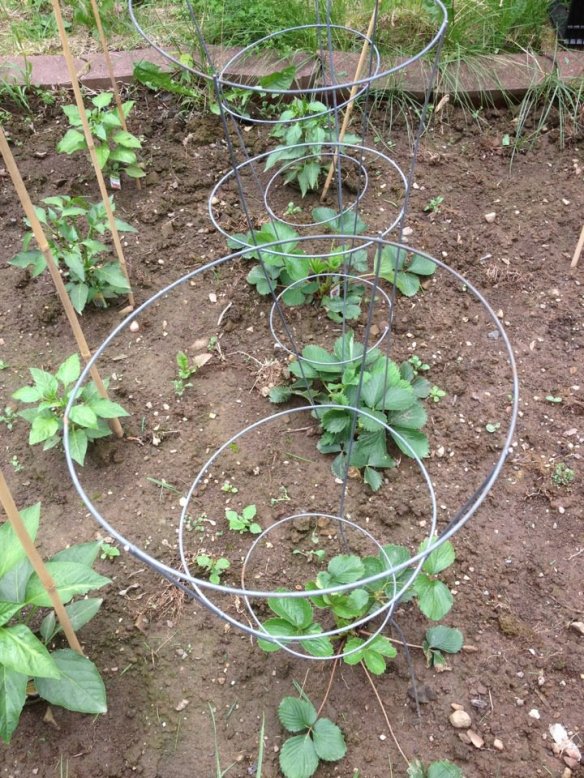
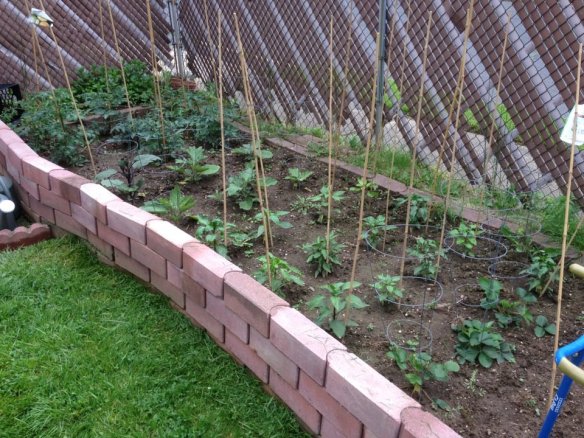
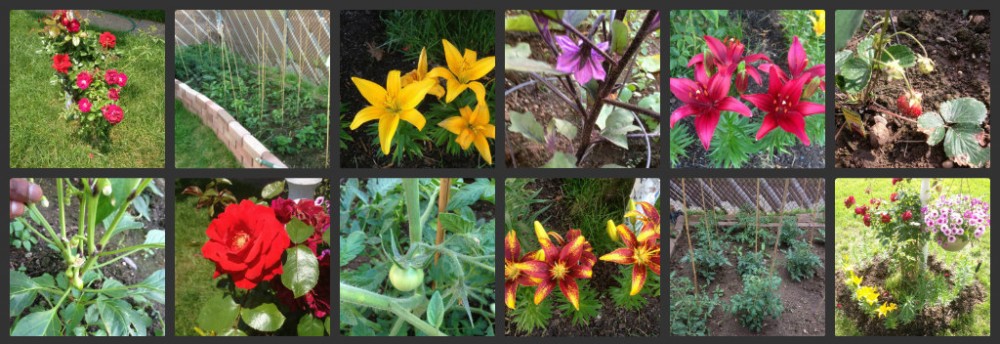
Hey!  I took a trip out west for 1 week to sunny California (although from what I hear, it was very hot in New Jersey for the last week with temps. reaching into the 100s?!).  Anyway, I came back and saw a lot of growth in all of my gardens (vegetable, flowerbed, walkway and container).  I took a few pics just to show the dramatic fruit and vegetable growths in a period of 1 week!  There is a group of strawberries which will soon be ready to pluck.  The tomatoes are in full effect, but the weight of the fruit is pulling down on the stems.  Therefore, I tied some stems along the fence to train them.  The ichiban eggplants are growing strong.  A variety of peppers can be seen, and some may be ready to pluck.

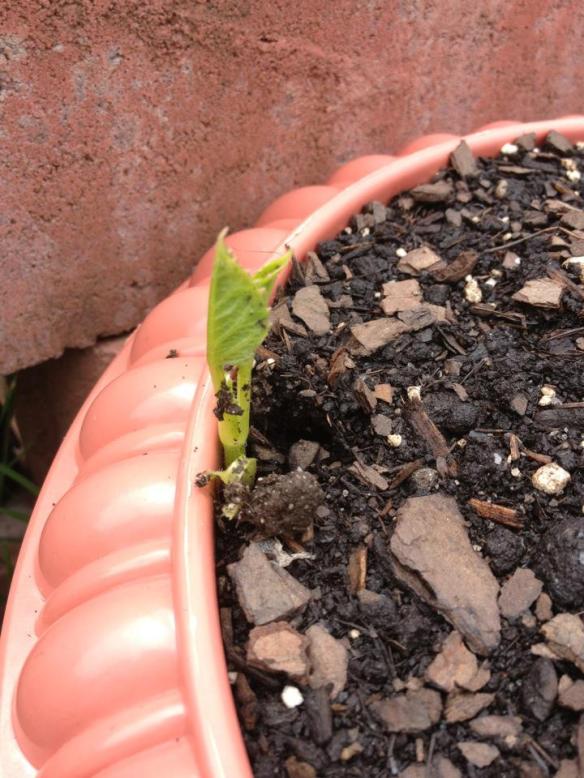
As for the flowers, A LOT of stems have emerged from the container garden (which is a good sign, as I originally thought they would not grow).  As for the flowerbed, I see small stems, but I cannot discern if they are from bulbs or simply weeds.  We will just have to wait and see.  Anyway, check out the pics below!
Strawberries.

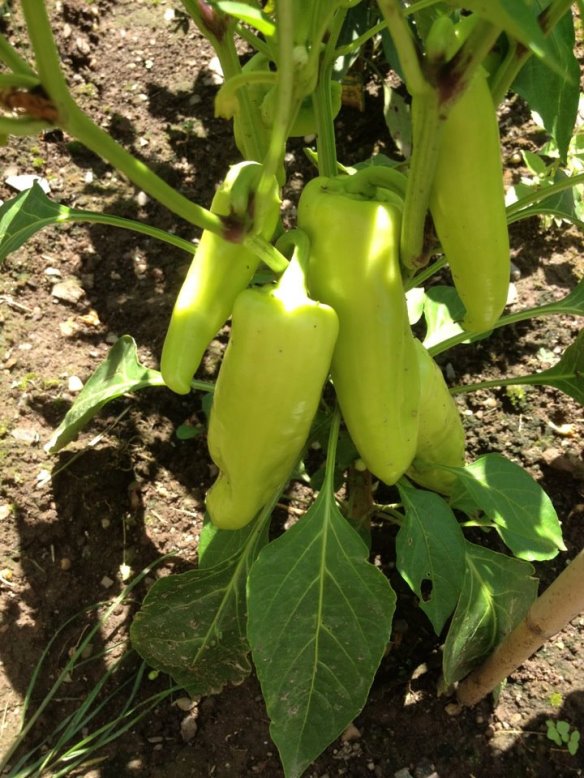
Peppers.

Bell pepper.

More peppers.

Ichiban eggplants.

Summer squash.

Summer squash.

Beastly tomatoes!

Okra.

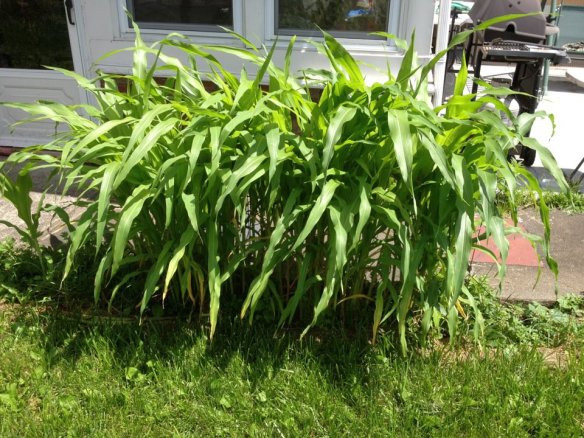
Corn stalks.

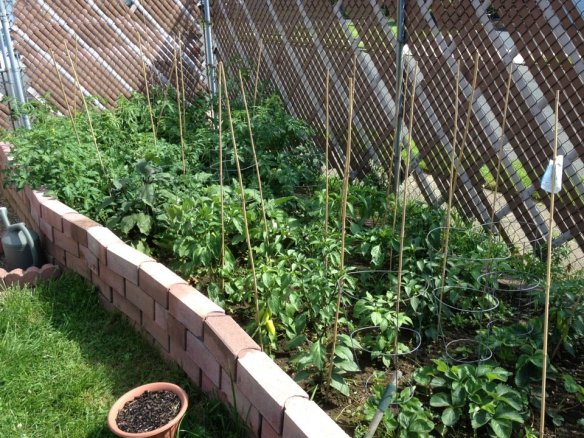
Overall view.

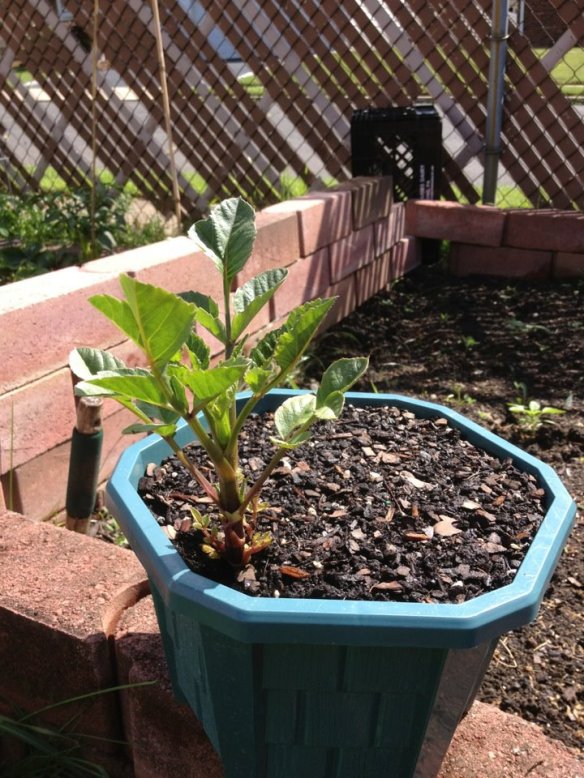
Flower pot.

Flower pot.

And another flower pot with emerging stems.


6/15/2012: Updated photos!

Hey guys!  I have some updated pics to share with you.  A lot of the vegetable plants are in the early stages of producing fruit.  I took some great shots of the fruits budding from the stems.  Also, some of the flower bulbs in my container garden are starting to emerge from the ground.  I can see immature leafing and stems erupting from the soil.  Looks very promising.  Check out the pics below!

Bunch of tomatoes.

Tomatoes.

Eggplants.

Peppers.

Peppers.

Peppers.

Peppers.

Mint leaves.

Squash flower.

Emerging flower plant.

Emerging flower plant.

Emerging flower plant.

Emerging flower plant.

June 13, 2012: Weeding, cleaning and maintenance.

Today, I noticed that my garden was growing rampant with weeds and other invasive plants (I was expecting this to occur).  Visually, it seemed like there was A LOT of unwanted shrubbery, almost as if my garden was taken over by these plants.  However, upon closer inspection, it was about 1-2 very large plants encompassing each vegetable plant.  No big deal.  It was very easy to pull out the weeds, but it sure did take a lot of back-breaking labor!  You can make your task easier if you wait until ample rain has hit your garden.  This will keep the soil moist and loosen the earth so that you can pull out the weeds with ease.  It rained the past few days, so it seemed like a good time to start weeding and maintaining my garden.  I simply applied finger force at the base of each weed stem, and it came right out.  Everything looks very clean now.  Check out the pics for some before and after shots!

Walkway garden: before weeding.

Walkway garden: after weeding.

Beastly tomatoes!

Before weeding.

After weeding.

Before weeding.

Before weeding.

After weeding.

June 9, 2012: More container gardening.

Since Home Depot was having a flower bulb sale, I capitalized on the 50% off discount and purchased a few more exotic looking flowers.  I did the same as my previous post and purchased the containers from a local dollar store (18 containers for about $22, some cost more than others).  In total, my entire container garden required only 4 cubic feet of Sta Green garden soil (2 bags).  Not bad, right?  Since they are all perennials, I am hoping to grow these flowers for years to come.  Check out the pics below!

Bulbs overview.

The containers.

The final product.

Dahlia Humpty Dumpty mix.

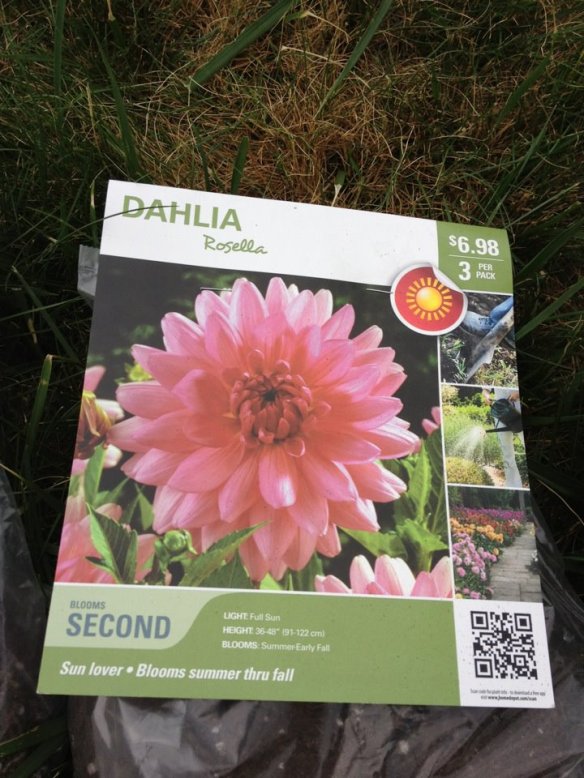
Dahlia Rosella.

Gladiolus firecracker.

Dahlia vancouver.

Dahlia Thomas Edison.

Dahlia kalinka.

Dahlia color spectacle.

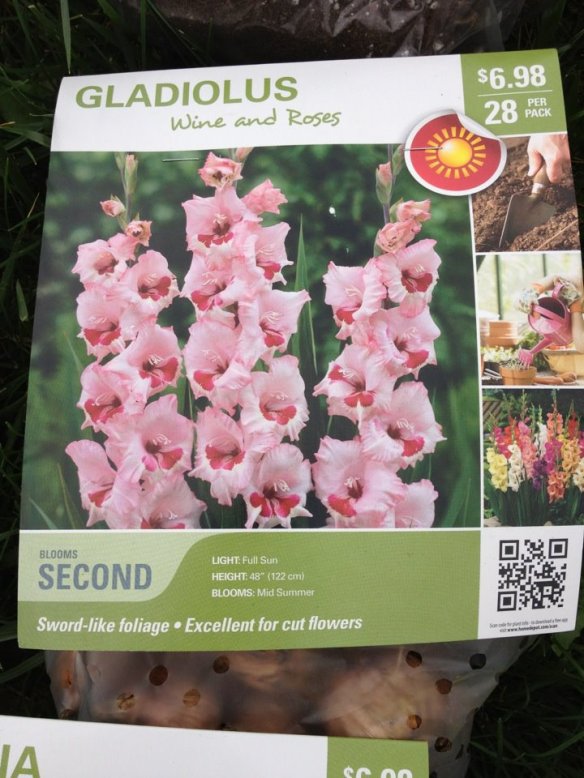
Gladiolus wine and roses.

Gladiolus dynamite II.

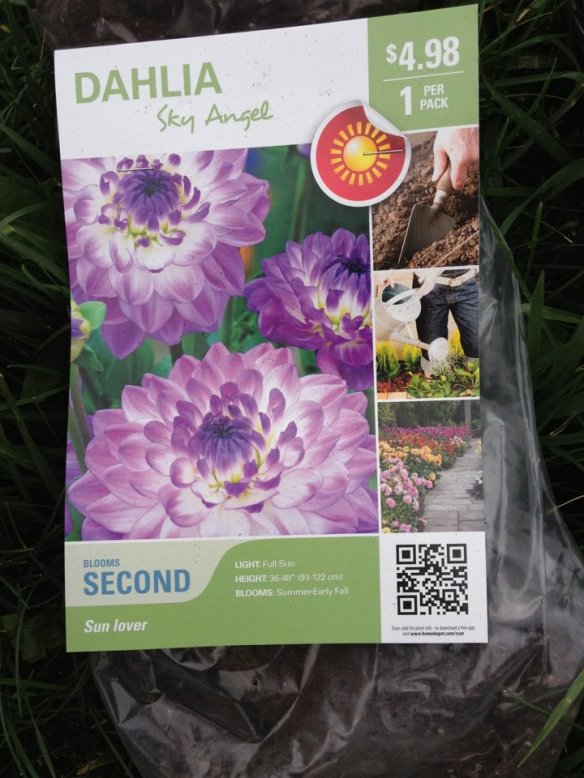
Dahlia sky angel.

Freesia single mix.

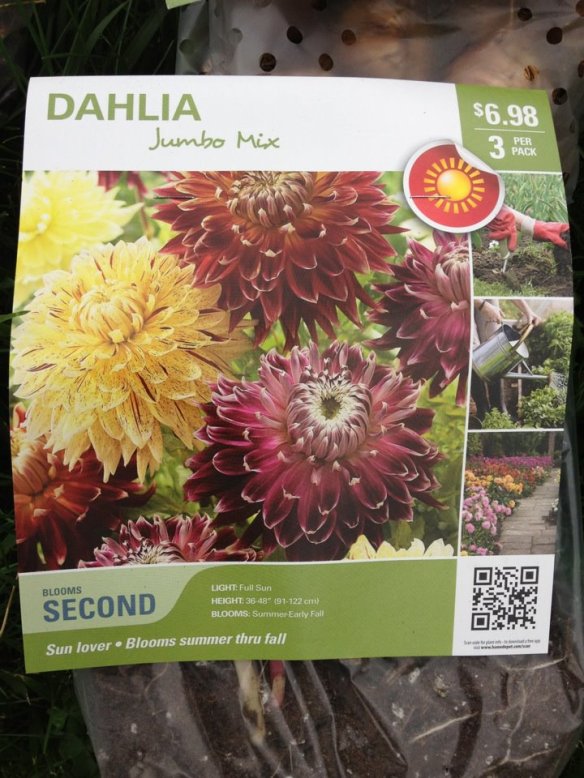
Dahlia jumbo mix.

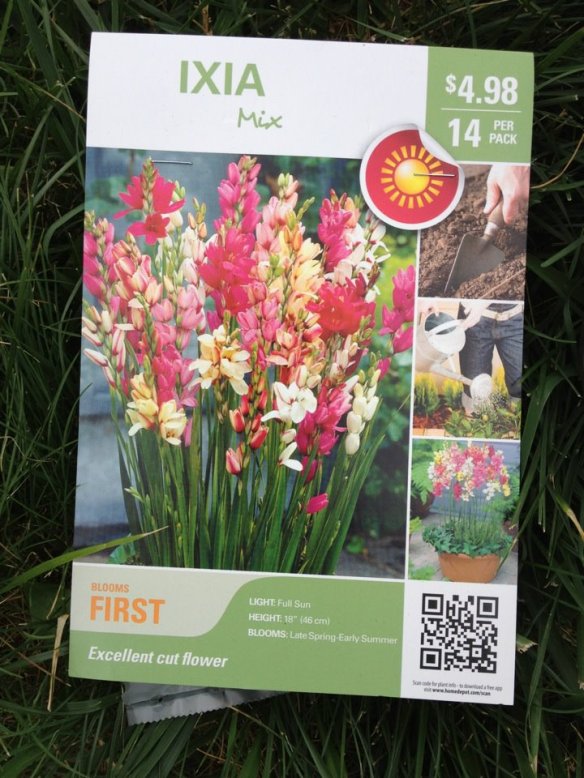
Ixia mix.

May 31, 2012: Planting of the rose bushes.

Here’s the new workspace for my rose bushes.  I will plant them alongside the fence so that when it matures, it will create a nice border of various colored roses.  The hardest part of planting these roses is the arduous task of digging into the ground.  You MUST dig at least 1.5-2 feet into the ground to allow for proper water drainage.  It was somewhat difficult, as I kept hitting large stones which I needed to clean out.  Basically, I dug 2 feet deep and about 1.5 feet in square dimensions for each rose bush.  Then I took the soil and tilled it until it showed the same consistency as store-bought garden soil.  I dropped in the rose bushes and filled in the holes.  I also purchased 7 bags of cheap top-soil from Home Depot (on sale for 0.98 cents for a 40 lb. bag!).  I split each bag to cover the top portions of each rose bush hole and created a nice mound on top for each plant.  I watered in heavily for the first watering (about 2 gallons per rose bush).  Check out the pictures below!

The workspace.

It’s not a joke digging these holes!
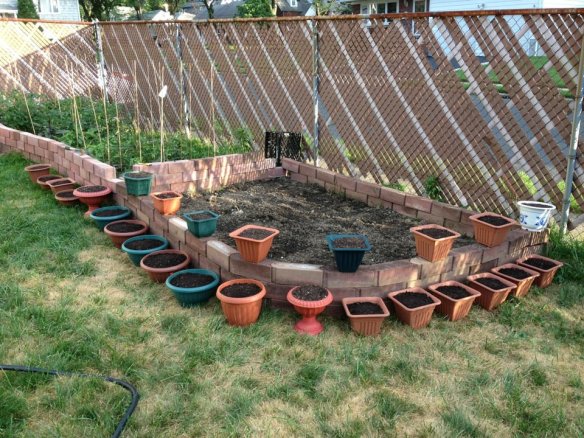
Planted and topped with soil.

1 of the 14 rose plants.

May 27, 2012: Vegetable garden photo update (part 1 of 2).

Hello everyone!  I took a few shots of my garden to show you guys how well it’s coming along.  I use 4-6 gallons of water every morning for my vegetable plants.  I also added these bamboo stakes to provide support for the plants (I believe they are about $2 from Home Depot for a pack of 6).

Tomatoes.

Eggplants.

Peppers.

Strawberries.

May 27, 2012 overall snapshot.

May 1, 2012: Buying vegetable plants – seed packets.

I purchased a few Burpee seed packets from Home Depot and decided to plant them along my walkway in my backyard.  I simply wanted to utilize the free space (previously used for annuals).  I turned the soil as before and added 1 bag of Sta Green garden soil (2 cubic feet).  Here’s the list of plants:

  • Summer squash 49er hybrid
  • Summer squash early golden crookneck
  • Summer squash hybrid zucchini
  • Summer squash green gourmet hybrid
  • Tomato super beefsteak
  • Tomato super sweet 100 hybrid
  • Tomato sweet salad hybrid
  • Tomato super steak hybrid
  • Okra Clemson spineless
  • Pea sugar snap
  • Cucumber salad slicer
  • Sweet corn sweet sunshine hybrid

Walkway mini garden, started from seeds.

April 29, 2012: Buying vegetable plants – starter plants in peat pots.

I went to Home Depot and purchased a few Bonnie vegetable starter plants (already in peat pots for easy planting).  I also bought two bags of Sta-Green garden soil (2 cubic feet) and mixed it into my tilled area (it was the cheapest garden soil bag per cubic feet).  I immediately transplanted the Bonnie plants into my garden.  Here’s the list:

  • Red beefsteak tomato
  • Parks whopper hybrid tomato Atkinson tomato
  • Early girl hybrid tomato
  • Better bush hybrid tomato
  • Beef master hybrid tomato
  • Cherokee purple heirloom tomato
  • Big beef hybrid tomato
  • Eggplant black beauty
  • Ichiban egg Japanese eggplant
  • White eggplant
  • Giant Marconi sweet pepper
  • Big Bertha bell pepper
  • Bonnie green bell sweet hybrid pepper
  • Yellow bell sweet pepper
  • Cayenne hot pepper
  • Sweet banana hybrid pepper
  • Mammoth jalapeño giant jalapeño pepper
  • Yummy bell petite bell pepper
  • Arden salsa hot pepper
  • Yummy snacking sweet pepper
  • Hot banana hybrid pepper
  • Allstate strawberries
  • Quinalt strawberries
  • Sequoia strawberries

Bonnie plants in peat pots, planted.

Side view.

I added 6 plant cages around the eggplants.

Another side view (with plant cages).

April 19, 2012: Making a border for the vegetable garden.

I let 10 days pass so that the grass roots from the turned and tilled soil could die off in the sun.  There were a few rainy days in between, so that helped to fertilize my space as well.  I also found some left over bricks which I used to make a wall around my garden.  It’s important to have a border not only to keep out any unwanted pests, but to also add beauty to the area.  Looks good so far…

The brick wall.