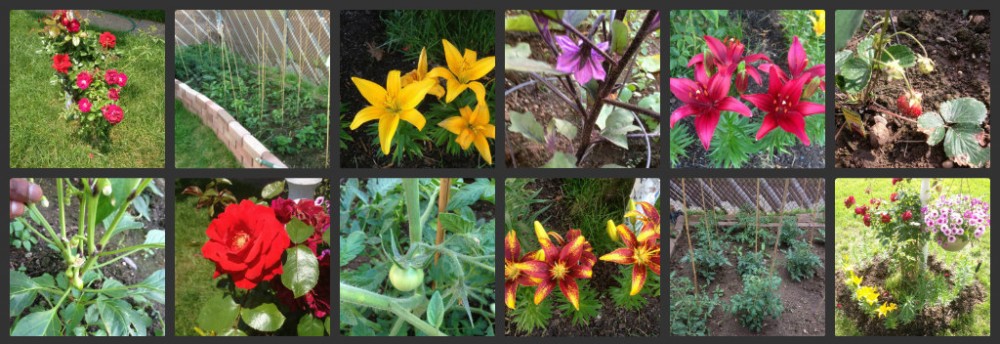
Here’s the new workspace for my rose bushes. I will plant them alongside the fence so that when it matures, it will create a nice border of various colored roses. The hardest part of planting these roses is the arduous task of digging into the ground. You MUST dig at least 1.5-2 feet into the ground to allow for proper water drainage. It was somewhat difficult, as I kept hitting large stones which I needed to clean out. Basically, I dug 2 feet deep and about 1.5 feet in square dimensions for each rose bush. Then I took the soil and tilled it until it showed the same consistency as store-bought garden soil. I dropped in the rose bushes and filled in the holes. I also purchased 7 bags of cheap top-soil from Home Depot (on sale for 0.98 cents for a 40 lb. bag!). I split each bag to cover the top portions of each rose bush hole and created a nice mound on top for each plant. I watered in heavily for the first watering (about 2 gallons per rose bush). Check out the pictures below!
Tag Archives: tilling
May 30, 2012: Rose bushes (part 1 of 2).
I went to Home Depot and guess what I saw? The entire rose bush section was on sale! It was $5.98 per bush, and all of them seemed established with a few flowers. All I have to do is dig a deep hole and plant. Sounds easy enough, right? I immediately thought of my backyard and the unlimited potential for these rose bushes. I pulled the trigger and purchased 14 rose plants (all in different varieties). Check out the following pictures for the list of roses!
May 27, 2012: Vegetable garden photo update (part 1 of 2).
Hello everyone! I took a few shots of my garden to show you guys how well it’s coming along. I use 4-6 gallons of water every morning for my vegetable plants. I also added these bamboo stakes to provide support for the plants (I believe they are about $2 from Home Depot for a pack of 6).
May 1, 2012: Buying vegetable plants – seed packets.
I purchased a few Burpee seed packets from Home Depot and decided to plant them along my walkway in my backyard. I simply wanted to utilize the free space (previously used for annuals). I turned the soil as before and added 1 bag of Sta Green garden soil (2 cubic feet). Here’s the list of plants:
- Summer squash 49er hybrid
- Summer squash early golden crookneck
- Summer squash hybrid zucchini
- Summer squash green gourmet hybrid
- Tomato super beefsteak
- Tomato super sweet 100 hybrid
- Tomato sweet salad hybrid
- Tomato super steak hybrid
- Okra Clemson spineless
- Pea sugar snap
- Cucumber salad slicer
- Sweet corn sweet sunshine hybrid
April 29, 2012: Buying vegetable plants – starter plants in peat pots.
I went to Home Depot and purchased a few Bonnie vegetable starter plants (already in peat pots for easy planting). I also bought two bags of Sta-Green garden soil (2 cubic feet) and mixed it into my tilled area (it was the cheapest garden soil bag per cubic feet). I immediately transplanted the Bonnie plants into my garden. Here’s the list:
- Red beefsteak tomato
- Parks whopper hybrid tomato Atkinson tomato
- Early girl hybrid tomato
- Better bush hybrid tomato
- Beef master hybrid tomato
- Cherokee purple heirloom tomato
- Big beef hybrid tomato
- Eggplant black beauty
- Ichiban egg Japanese eggplant
- White eggplant
- Giant Marconi sweet pepper
- Big Bertha bell pepper
- Bonnie green bell sweet hybrid pepper
- Yellow bell sweet pepper
- Cayenne hot pepper
- Sweet banana hybrid pepper
- Mammoth jalapeño giant jalapeño pepper
- Yummy bell petite bell pepper
- Arden salsa hot pepper
- Yummy snacking sweet pepper
- Hot banana hybrid pepper
- Allstate strawberries
- Quinalt strawberries
- Sequoia strawberries
April 19, 2012: Making a border for the vegetable garden.
I let 10 days pass so that the grass roots from the turned and tilled soil could die off in the sun. There were a few rainy days in between, so that helped to fertilize my space as well. I also found some left over bricks which I used to make a wall around my garden. It’s important to have a border not only to keep out any unwanted pests, but to also add beauty to the area. Looks good so far…
April 9, 2012: Preparing the land for a vegetable garden.
Well, it’s finally that time again. Preparing and cultivating the land is probably one of the hardest tasks of starting a garden (especially under the beating sun). Personally, I consider manual labor to be a good workout (yes, I love to workout and exercise daily). So it’s a win-win.
Take your time with this part. The soil needs to be tilled thoroughly for proper root development and water drainage plus aeration. Yes, it will take a lot out of you, but once this part is done, you will be well on your way to doing the fun stuff (like picking your crops and planting them in a nice fashion). Also, remember that when turning over your lawn patches, leave the roots exposed to the sun so that any weeds and grass can die.

Standard gardening tools. I used the square-shaped shovel to cut out square patches from the lawn (about 6″ deep).

I simply flipped the square patches over so that the grass is on the bottom and the roots are on top.
Done for the day!


